
 English
 Română
 Español
 Magyar
Photos from the visit and the patient's documents (test results, medical letters) live right in the visit record.
Step 1 — Open the photos tab
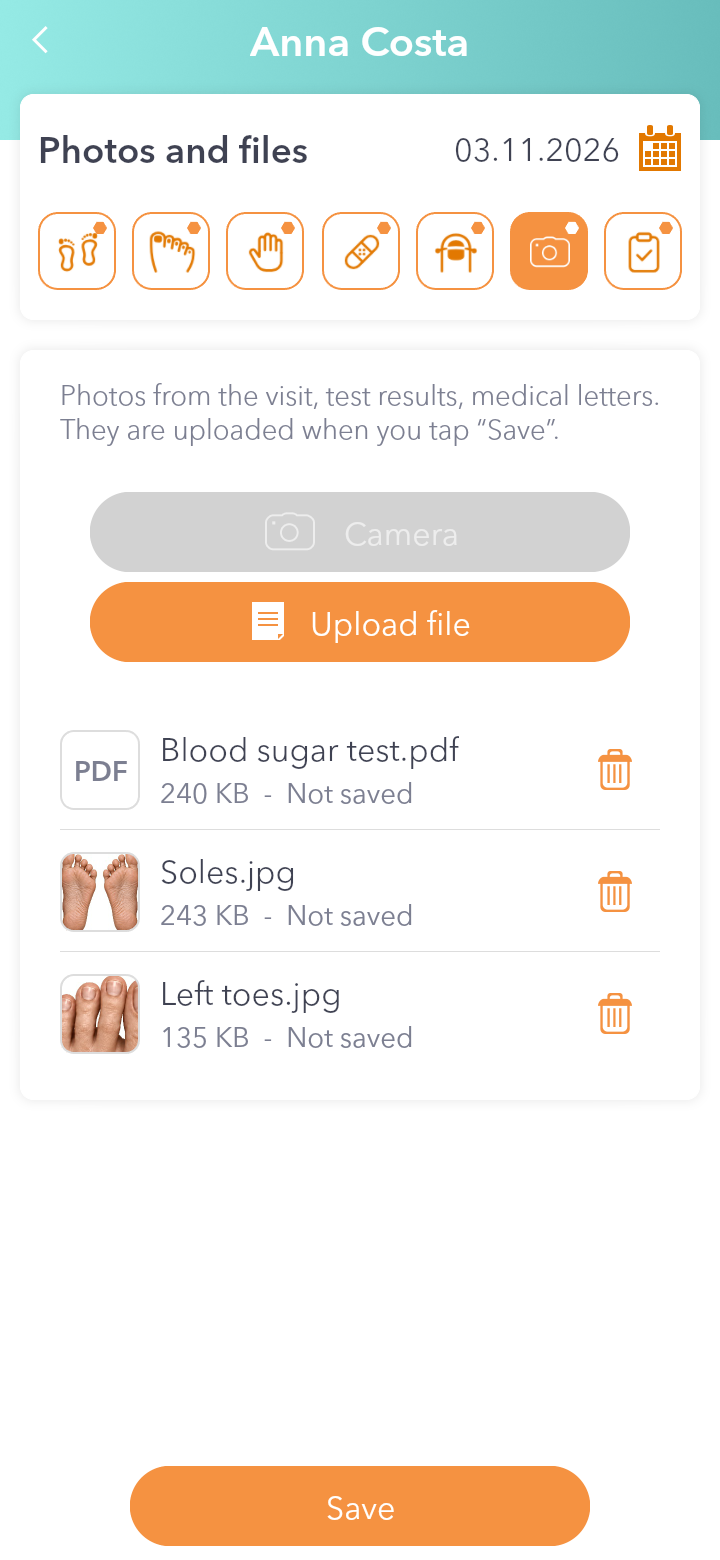
In the visit record tap Photos and files, the camera icon.
Step 2 — Take a photo or upload a file
On a phone, tap Camera to take a picture right away. Upload file lets you pick a photo or a document you already have, for example a PDF with test results. On a computer there's no camera, so you only use the second button.
Step 3 — Save
The files show up in the list and are uploaded to the server when you tap Save. Until then you can remove them with the bin on the right.
Good to know: documents that belong to the patient rather than to one visit go in the Medical history, under Documents.