
 English
 Română
 Español
 Magyar
The podiatry record keeps everything you did at each visit: feet, nails, treatment, correction systems, photos and the next appointment. You get it if you chose "Podiatry" when you created your account. If you have an older account and you don't see it, write to us and we'll switch it on.
Step 1 — Open the patient's record
Tap the patient, then in Client's chart tap View all. On medical accounts the screen is called Patient's chart.
Step 2 — Add a visit
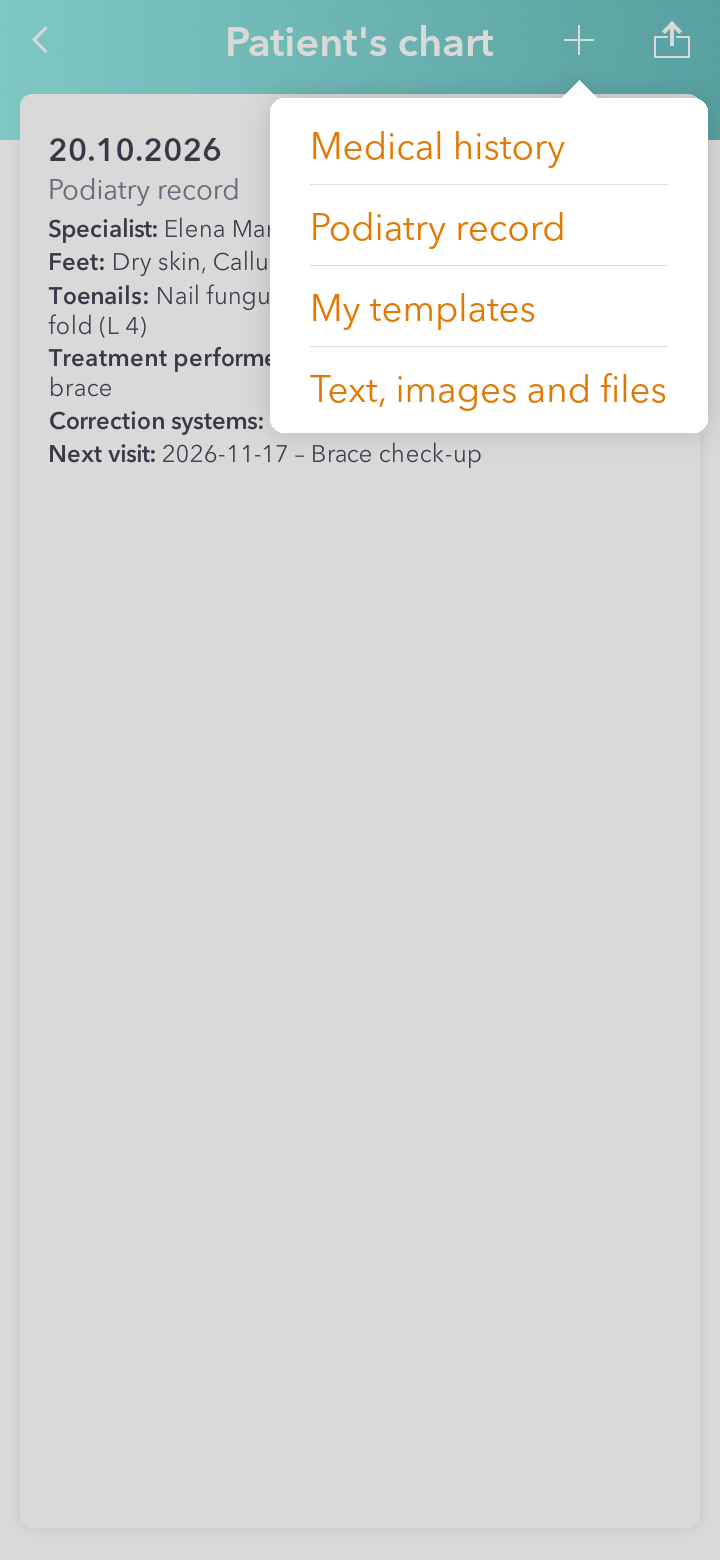
Tap the plus (+) in the top right corner and choose Podiatry record. This is also where you add the Medical history, once per patient.
Step 3 — Start from the last visit
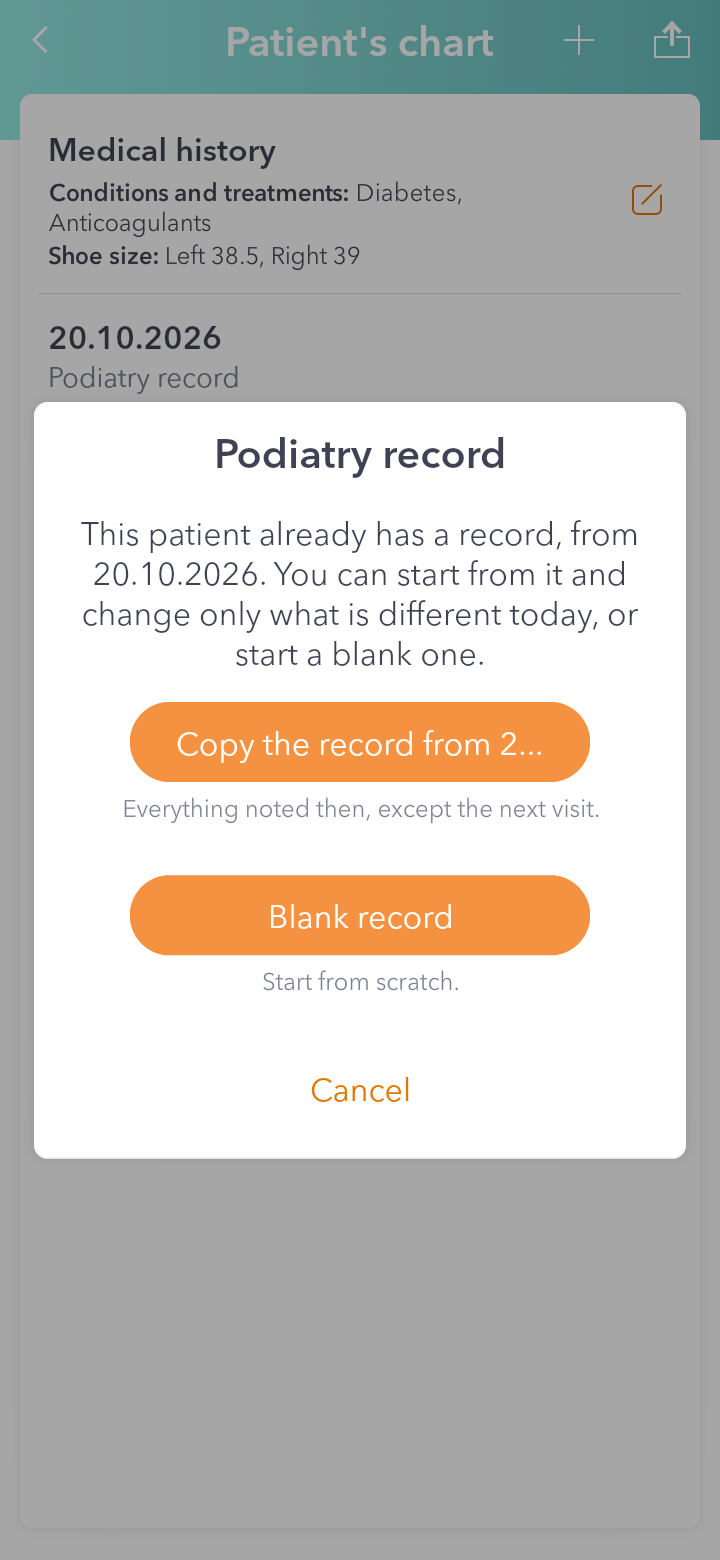
If the patient already has a record, the app asks where to start. Copy the record from … brings back everything you noted then, except the next visit, so you only change what's different today. Blank record starts from scratch.
Step 4 — Go through the tabs
At the top there's a row of icons, one for each part of the record: Feet, Toenails, Fingernails, Treatment performed, Correction systems, Photos and files and Outcome. Tabs you've filled in get a dot in the corner.
Step 5 — Save
Tap Save. The record stays open, so you can keep working. The button comes back as soon as you change something.
Good to know: the visit date is in the top right, next to the calendar icon. Tap it if you're noting a visit from another day.